Knowing how to make flashcards is not the same as knowing how to make flashcards that work. Most students create cards that feel productive to make and feel productive to review — and then forget 80% of the content by exam day anyway.
The failure is almost never about memory capacity or intelligence. It is about card design. A poorly designed flashcard creates the illusion of learning while producing shallow encoding that evaporates under pressure.
This guide covers the research-backed principles behind effective flashcard design, the specific formats that maximise retention, and the practical workflow for creating cards that actually stick — whether you are making them by hand, in Anki, or with an AI tool.
Why Most Flashcards Fail
Before covering what works, it is worth being specific about what does not.
Cards that are too long. When the answer to a card is a paragraph, your brain cannot form a clean, retrievable memory trace. You half-remember it, partially mark it correct, and the card never really enters your long-term store. The solution is to decompose long answers into multiple smaller cards.
Cards that test recognition, not recall. A card with "What is the term for the process of breaking glucose down into pyruvate?" is a vocabulary recognition test. It can be passed by vague familiarity. A card with "Explain glycolysis: what goes in, what comes out, and where it happens" requires actual recall. The second card is harder. It is also the kind of retrieval practice that Jeffrey Karpicke's research at Purdue shows produces dramatically better retention.
Cards with no context or application. Pure definitional cards ("Define osmosis") test whether you can repeat a phrase, not whether you understand the concept. Cards that ask you to apply, explain, or generate examples encode the concept in a richer, more retrievable way.
Cards without a clear cue-response relationship. If reading the front of the card does not produce a clear moment of either confident recall or effortful searching, the card is not designed correctly. The front should create a specific retrieval challenge. The back should provide the specific answer to that challenge — nothing more, nothing less.
Making cards during the first pass. The biggest time-waster in flashcard creation is making cards while still trying to understand the material. You end up encoding your confusion. Make cards after you understand — even roughly — what the concept means.
The Minimum Information Principle
Piotr Wozniak, who created SuperMemo (the first spaced repetition software), articulated the principle that has since become the foundation of effective flashcard design: make your cards as simple as possible.
Specifically:
- One question per card
- One answer per card
- The answer should be one word, one phrase, or one clear sentence where possible
This feels reductive when you are studying complex material. It is not. The minimum information principle does not say that your understanding should be shallow — it says that each card should test one retrievable piece of knowledge. Complex understanding is built by linking many small, well-learned pieces, not by trying to cram everything onto one card.
For example, instead of:
Front: Describe the steps of the cell cycle
Back: G1 phase (cell growth), S phase (DNA replication), G2 phase (preparation for division), M phase (mitosis), cytokinesis...
You write five cards:
Front: What happens in the G1 phase of the cell cycle?
Back: Cell grows and prepares for DNA synthesis
Front: What happens in the S phase of the cell cycle?
Back: DNA replication occurs — each chromosome is copied
And so on. Each card creates one clean retrieval challenge. Together, they build complete understanding — and because each piece is separately consolidated, the failure of one card does not erase the others.
Cloze Deletion: The Most Versatile Card Type
Cloze deletion is the technique of blanking out a key word or phrase within a complete sentence. It is the single most versatile card format for complex academic content.
Example:
Original statement: Synaptic plasticity is the ability of synapses to strengthen or weaken over time in response to changes in neural activity.
Cloze card: Synaptic plasticity is the ability of synapses to [blank] or weaken over time in response to changes in neural activity.
Answer: strengthen
Why cloze deletion works:
- The surrounding context acts as a retrieval cue, which mirrors how you will need to recall the information in an exam (within a paragraph, within a problem).
- The sentence structure forces you to understand the grammar and logic of the concept, not just the isolated term.
- Multiple cloze cards can be created from one sentence, each targeting a different term.
In Anki, cloze deletion is a native card type. You type the full sentence and wrap the target word with {{c1::word}}. Anki generates the card automatically. See Anki vs RemNote and AI alternatives for a full comparison of spaced repetition tools that support cloze cards.
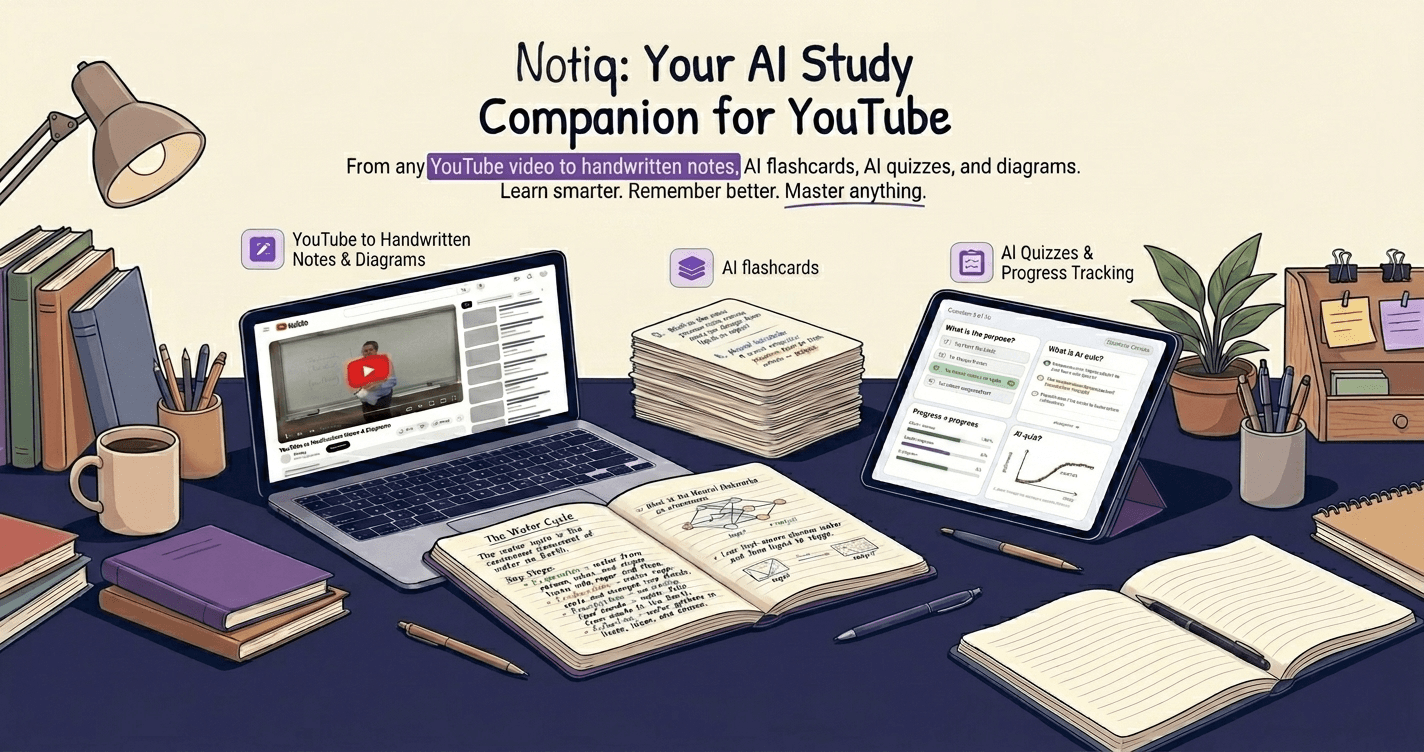
In Notiq, AI-generated flashcards often use cloze-style formatting automatically when processing lecture transcripts. You can then edit any card that is too long or too vague.
Image Occlusion: Essential for Visual Learners
Image occlusion hides parts of a diagram or labelled image and asks you to recall what is covered. It is the most effective card format for anatomy, biochemical pathways, circuit diagrams, maps, and any content where spatial relationships matter.
A classic example: take a labelled diagram of the heart. Create an image occlusion card that covers "left ventricle" and shows everything else. Your task: recall what is covered.
In Anki, image occlusion requires the Image Occlusion Enhanced add-on (free, available in the add-on browser). In RemNote, image occlusion is built into the native card editor.
The cognitive reason image occlusion works is that it activates visual-spatial memory in addition to declarative memory. When two memory systems encode the same information, retrieval becomes more robust — damage or interference with one pathway still leaves the other intact.
For anatomy-heavy subjects (medicine, biology, physical geography), allocate at least 30% of your card deck to image occlusion cards. The AnKing deck for medical students — referenced in the video above — is built almost entirely on cloze and image occlusion cards, which is why it is considered the most evidence-based pre-made deck available.
How to Write the Front of the Card
The front of the card is the retrieval cue. The quality of this cue determines how effectively the card tests recall versus recognition.
Strong cue design:
- Specific context: "In the context of signal transduction, what is the role of a G-protein?"
- Application: "A patient presents with low serum calcium. Which hormone is deficient, and at which organ does it normally act?"
- Causal: "Why does higher temperature increase the rate of an enzyme-catalysed reaction up to the optimum, but decrease it beyond?"
- Comparison: "How does osmosis differ from active transport?"
Weak cue design:
- "What is a G-protein?" (recognition trigger, not recall)
- "Define osmosis" (rote phrase, not understanding)
- "What did the lecture say about enzyme kinetics?" (too vague, no specific retrieval target)
The test of a well-designed front: can someone who knows the material and someone who does not both generate a clear answer attempt? If yes, the cue is specific enough. If the person who does not know the material would write a blank — rather than a confused attempt — the cue is probably too narrow and you are testing word association rather than knowledge.
Building a Card Deck from a Lecture or Textbook Chapter
A practical workflow that takes about 30 minutes per lecture hour:
Step 1 — First pass understanding (no cards yet). Read or watch the material once for comprehension. Identify the main concepts, the main causal relationships, and the main vocabulary terms. Note anything that confused you.
Step 2 — Identify card targets. For each main concept: identify the definition, the function or role, one example, and one comparison or contrast. These four angles become four cards.
For each vocabulary term: write one cloze deletion using the term in a sentence from the source material, plus one card asking for the definition in your own words.
Step 3 — Write the cards. Apply the minimum information principle. One card per piece of knowledge. Cloze deletion for complex sentences. Image occlusion for diagrams. Application questions for concepts that appear in exam problems.
Step 4 — Review deck design. Before you start reviewing, read through your new cards once as a quality check. Remove or split any card where the answer is more than two sentences. Add context to any card where the front is too vague.
Step 5 — First retrieval session. Review all new cards within 24 hours of creation. This sets the initial interval in your spaced repetition system. See flashcards and spaced repetition science for how spacing intervals work and why the first review timing matters.
How Many Cards Per Study Session?
Research on spaced repetition systems suggests that 20–30 new cards per day is sustainable for most students, with 10–20 minutes of review for mature cards (cards already in your deck from previous sessions) layered on top.
Going above 50 new cards per day typically leads to review debt: your future-due reviews pile up faster than you can clear them, and you either fall behind or rush through reviews without genuine recall effort.
If you are cramming for an exam in 24 hours, the target is different: you want to run through all cards multiple times in a single session rather than spacing them across days. This produces shorter-term retention but is appropriate when the exam is imminent. See how to cram for an exam in 24 hours for the full time-blocked schedule.
Using AI to Generate Your First Card Draft
The most time-consuming part of building a flashcard deck is not the reviewing — it is the initial card creation. AI tools have made this significantly faster, though the output still requires human editing.
Notiq generates flashcards automatically from imported YouTube lectures or uploaded PDFs. The generated cards tend to be strongest for definitional and cloze-style cards, and weakest for application and comparison questions — because application questions require the AI to understand what kind of problem-solving the exam will require, which is context the AI does not always have.
The practical workflow: use AI-generated cards as a first draft. Accept the definitional and cloze cards that are clean and correctly scoped. Delete or rewrite cards that are too long, too vague, or asking for recognition rather than recall. Add application and comparison questions manually based on your knowledge of the exam format.
This hybrid approach reduces card creation time by 60–70% while maintaining the quality of retrieval practice that passive AI-generated decks cannot guarantee.
For a comparison of AI flashcard tools against dedicated spaced repetition software, see Anki vs RemNote and AI alternatives.
Should You Make Cards by Hand or Digitally?
This is genuinely contested. Here is the honest breakdown:
Arguments for handwritten cards:
- The act of writing is slower, which forces more deliberate processing during card creation
- Physical cards require no app, no device, no friction at the point of review
- Some research suggests motor encoding (writing) provides an additional memory channel
Arguments for digital cards (Anki, RemNote, Notiq):
- Spaced repetition algorithms schedule your reviews automatically — you do not have to decide which cards to review
- Image occlusion and cloze deletion are difficult or impossible with physical cards
- Digital decks can be shared, backed up, and accessed on any device
- Search and editing are dramatically easier when you find a card error
The honest recommendation: use digital cards with a spaced repetition system for any subject you are studying across a semester. Use handwritten cards only if you have no access to a device, or if the act of writing is a meaningful part of your encoding process for that subject (e.g., learning a new script or alphabet).
Common Card Design Mistakes to Fix Right Now
The "notes in disguise" mistake. Cards that are long paragraphs in question format. Fix: apply the minimum information principle. Split into multiple cards.
The "I'll fix this later" mistake. Leaving vague or incorrect cards in your deck because editing feels like wasted time. Fix: bad cards actively harm your learning by training wrong recall. Deleting a card is better than keeping an incorrect one.
The "more cards = better learning" mistake. Students who make 300 cards per chapter feel productive and learn less than students who make 60 high-quality application cards. Fix: fewer cards, better designed, reviewed consistently.
The "only review before exams" mistake. If you only pull out your deck when an exam is coming, spaced repetition's compounding benefit cannot operate. Fix: set a daily minimum review session, even 15 minutes.
The "no images" mistake. Text-only decks miss the visual-spatial memory channel for content that has natural visual structure. Fix: screenshot diagrams, tables, and flowcharts and create image occlusion cards for them.
The gap between flashcards that feel productive and flashcards that produce durable recall is almost entirely a design problem. Fix the design — minimum information, specific retrieval cues, cloze and image occlusion formats, application questions — and the same review time produces dramatically better results.
Want your lecture videos and notes turned into well-designed flashcards automatically? Try Notiq free at notiq.study — import any YouTube lecture or PDF and get exam-ready cards in under two minutes.